
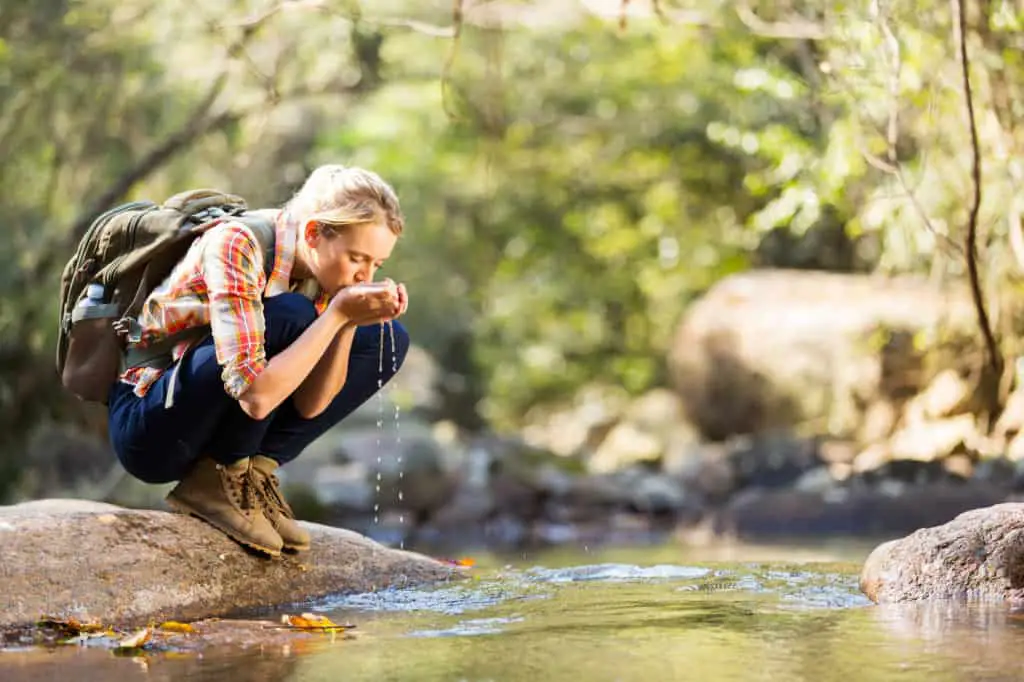
This isn’t the stone age- you shouldn’t be drinking out of ponds and puddles and trickling streams anymore. Whether you’re set up in a comfy KOA with ‘potable’ water, or roughing it wild camping out in the middle of nowhere, you need a good way to filter the water you intend to drink.
Top 5 Best Ways to Purify Water When Camping
- Squeeze or Pump Water Filter
- Gravity Water Filter
- Iodine Tablets
- Ultraviolet (UV) Treatment
- Boiling
These are the methods, in order, that I recommend for convenience when you’re camping. Each one has strengths and weaknesses in different setups, so depending on how you like to camp you’ll want a different one.
Purifying Water While Camping
Water is full of bacteria, protozoa, viruses, dirt, and sometimes harmful chemicals. Water filtration devices have come a long way, making it pretty easy to select the perfect style for your situation.
Each method has its advantages- for example, you wouldn’t want to share a LifeStraw with a group of 5 campers, nor would you want to use a squeeze method to supply water for a group of 10 people for a week in the woods.
There are really only three ways to neutralize the water, they’re just packaged differently. You can force the water through really small holes to filter out anything larger than a micron or two, you can add chemicals to the water to nuke it, or you can use heat or light to sterilize it.
Water Purification vs. Water Filtration
A note on water purification versus water filtration- all of these devices filter water, but not all of them purify it. The purification process requires chemicals to kill the smallest viruses that can pass through some filters.
The viruses of concern to humans are pretty much only passed through human feces, so if you’re camping mostly in the US and Canada you should be just fine with a water filter. If there’s any concern that the water could be contaminated with human feces, it’s best to be extra cautious and go with a method that purifies the water with chemicals as well. (source )
)
1. Water Filtration Pump
A water filtration pump is probably the best all-around tool for filtering water outdoors. They are small enough to backpack with, relatively simple to use, and have a pretty high output rate. They’re more expensive than iodine tablets, but it’s not going to be one of your most expensive pieces of gear.
Filtration pumps work by placing one end of the hose into the water source and then pumping the water (similar to a small hand bicycle pump) through into a drinking bottle.
Pumps force water through a filter with very small holes. Most pumps will filter down to 2 micrometers, which will remove everything but the small viruses. The nice thing about a pump versus UV, boiling, or iodine is that it filters out any sediment, algae, or other gunk in the water in addition to filtering the water.
Pumps will last a long time, but the filter will need to be replaced after a few years as it gets more clogged with ultra fine sediment, and it becomes difficult to pump water through. Pumps can generate drinking water quickly, but require effort to pump them.
I remember one time as a young teenager taking the pump down to the stream to get some water. I carelessly placed the hose down into the water and started pumping without realizing that the end had gone down into the mud.
The pump became really difficult to compress and pretty much became inoperable. When I realized what happened I was able to clean out some of the mud and backflush the filter with some clean water we had left, but the filter had to be replaced when we got home.
Water filter pumps take up more space than the tablets, but can provide more reliable cleansing. You may want to take a few tablets as back up for the pump, in case the filter gets clogged or broken. You can pump dirty water through the filter, and it will clean out sediment, but it will clog the filter faster, so it is better to collect water from the deepest, clearest part of the stream, and strain it through a sock or shirt to keep any twigs out.
With a filter pump, it’s extremely important to be careful with the hoses and not mix them up or let the dirty side contaminate the clean side. You also need to make sure to let everything dry out when you get home.
Pumps are kind of tedious to set up, which slows things down, but the water throughput is pretty good. Still, you wouldn’t want to be responsible for getting water for a big group with just a little pump.
PROS: clean, efficient, better taste, large volumes of water, faster, filter cartridges last a long time
CONS: filter cartridges can get clogged, more expensive, don’t filter out smaller viruses, heavier and bulkier
There are several very similar methods to pumps that use the same types of filters and have slightly different benefits:
Squeeze filters work by scooping up water into a bag, screwing it onto the end of the filter, and squeezing the bag to force water through the filter. You can get a pretty good forearm burn squeezing the bag, and the throughput isn’t as fast as a pump. It’s nice to be able to either drink straight from the bag through the filter or squeeze it into a bottle.
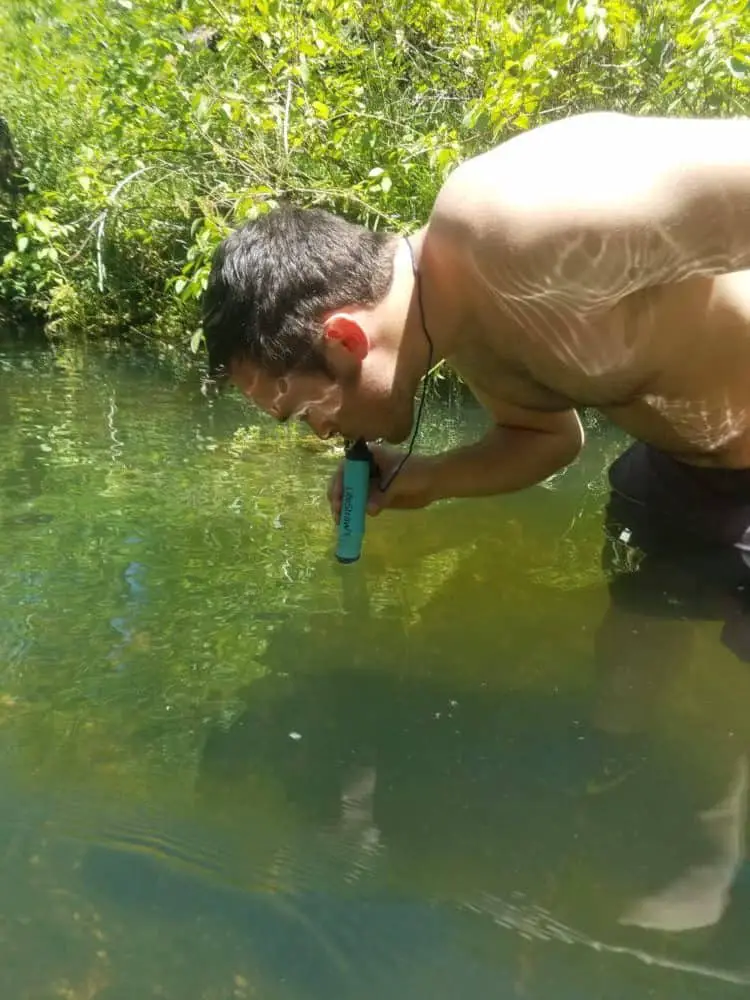
Straw filters can also be a good fit for camping, although they are limited to individual use. It’s pretty cool to be able to just lean down and drink straight from the source through a straw.
Integrated Bottle Filters come with an integrated filter straw, which can be a good option for hiking near a water source. You just fill up the bottle, screw on the lid, and then drink through the lid or squeeze the bottle into your mouth. It’s a little slow going, but convenient on a hike.
Recommendation: My main water filter I use for backpacking and canyoneering is the Sawyer Squeeze (view price on Amazon). I like being able to scoop up a bagful of water and then squeeze it into another container somewhere more comfortable than with a pump where you have to crouch down to keep one end in the stream while pumping.
I do use a Lifestraw occasionally as well when I won’t need to share water with anyone else and know there’s lots of water around, like when I’m canyoneering in a class C canyon.
2. Gravity Water Filter
If you’re going car camping, a gravity water filter is probably the best bet. You can clean a lot of water at once, and it doesn’t expend any effort pumping or squeezing water through the filter! These systems are usually quite a bit bigger than pumps, so you wouldn’t want to take them backpacking.
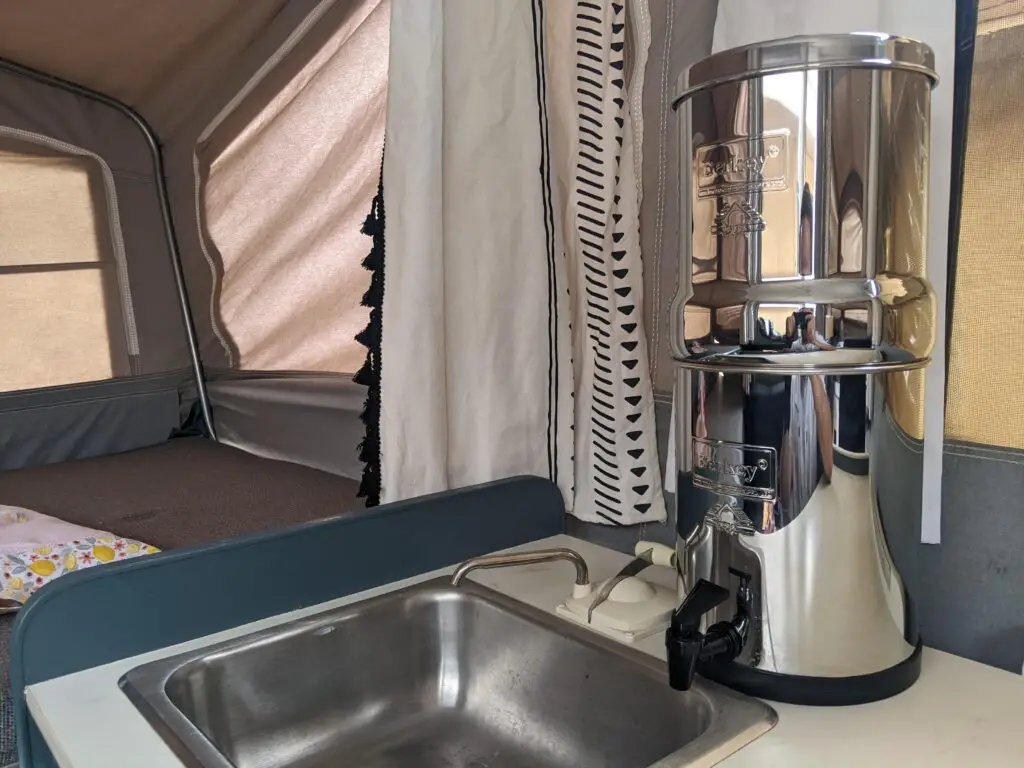
The setup is as tedious as a water pump, but they are really easy to use once they’re set up. If you’re setting up a base camp or are staying somewhere for a while, this is the way to go. Gravity water filters are also one of the best options for camping in a camper or RV since you can mostly just leave the whole thing assembled.
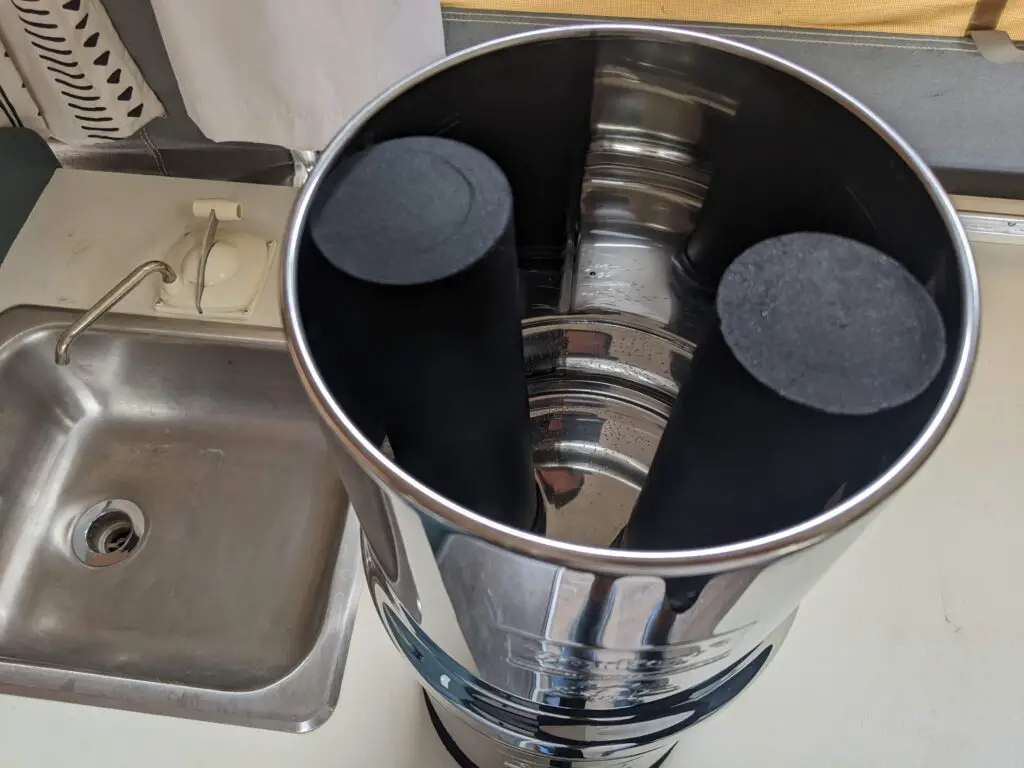
There are two main setups for gravity water filters- a free standing style that sits on a table, or a bag-style that you can hang from a tree or whatever. The bag-style is obviously much lighter, but the downside is that you need somewhere to hang it. Bag setups also don’t usually have a way to store the clean water, so you can only fill up on-demand at the rate it filters.
A countertop gravity filter like those that Berkey (pictured above) makes is nice because there’s a reservoir built in that stores clean water so it’s always ready for you and you aren’t stuck waiting for gravity to pull water through the filter. The rigidity of the countertop filters makes them perfect for basecamp or using in an RV, but not a great choice for backcountry use.
PROS: Not physically demanding, large volumes of water, great for big groups
CONS: Can be bulky and are only good for certain setups, requires deep enough water to scoop
Recommendation: I really like my Travel Berkey for car camping and camping with my pop up camper. I dump a bucket of river water into the top and it does the work of purifying for me. It’s nice to be able to store it inside the camper and store the whole thing assembled. It also actually purifies the water, whereas most of them just filter it.
3. Iodine Tablets
The classic option that backpackers have used for a long time is Iodine Tablets. You just drop one or two in your water bottle and then give it about 30 minutes and you’re set. The downside is the taste- you definitely lose the nice crisp mountain water taste and are stuck with a mouthful of chemicals.
If you’re going to use iodine tablets, I recommend bringing a drink mix to pour in after the iodine has taken effect. Some gatorade or crystal light mix can go a long way to make the water drinkable again.
You can also add a vitamin C or ascorbic acid tablet to neutralize the iodine. It will neutralize the flavor of the iodine, but if you add the flavor neutralizer pill before waiting the full 30 minutes, it will form a precipitate with the iodine, deactivating it before it has a chance to purify.
Water purification tablets kill most living things in the water. They will kill bacteria and protozoa, but they will not kill viruses or endospores. Certain microbial organisms will go dormant and form a protective shell to survive unfavorable conditions, called an endospore.
Some endospores are extremely durable, and can survive iodine purification, or even boiling (such as botulism). Giardia and Cryptosporidium form endospores, so purification tablets might not stop them.
Tablets are cheap and light, and so they are nice for short trips or emergency survival situations. Iodine tablets will last almost indefinitely if they are sealed. If they are exposed to the air, then they will start to lose their effectiveness after a few days as they sublimate (solid iodine is converted to a gas and diffuses away). Tablets also won’t remove any sediment, algae, or sticks that are in your water.
PROS: light, cheap, easy
CONS: limited use, don’t kill everything, require 30 minutes to work, unpleasant taste
Recommendation: Aquamira Water Treatment Drops are similar to iodine, but do actually ‘purify’ the water. It’s a two step process and takes a bit more work than iodine, but if you’re going the droplet route, that’s the way to go.
4. UV Water Treatment
The most recent development in the water purification space comes from UV Water Treatments. Most of these involve a small rod that you let sit in a water bottle or pot as it cleanses the water with UV rays.
They’re really fast (about a minute for a small water bottle) and are easy to use. The limitation is that the water has to be really clear or else the light can’t get through.
The other main concern with UV treatment is the reliability of a battery-powered device in the backcountry. Cold weather can sap batteries prematurely, or there can be some other malfunction. I wouldn’t rely on this exclusively- bring along some iodine just in case as a backup.
Otherwise, the product is great. It’s fast, doesn’t require any effort to use, and is effective. They are a little bit pricey, but last a really long time as long as you keep the batteries fresh.
PROS: fast, easy to use, compact
CONS: expensive, batteries, doesn’t work with murky water
Recommendation: Steripen is really the only player in this space for now. The product is good, and the process is really neat.
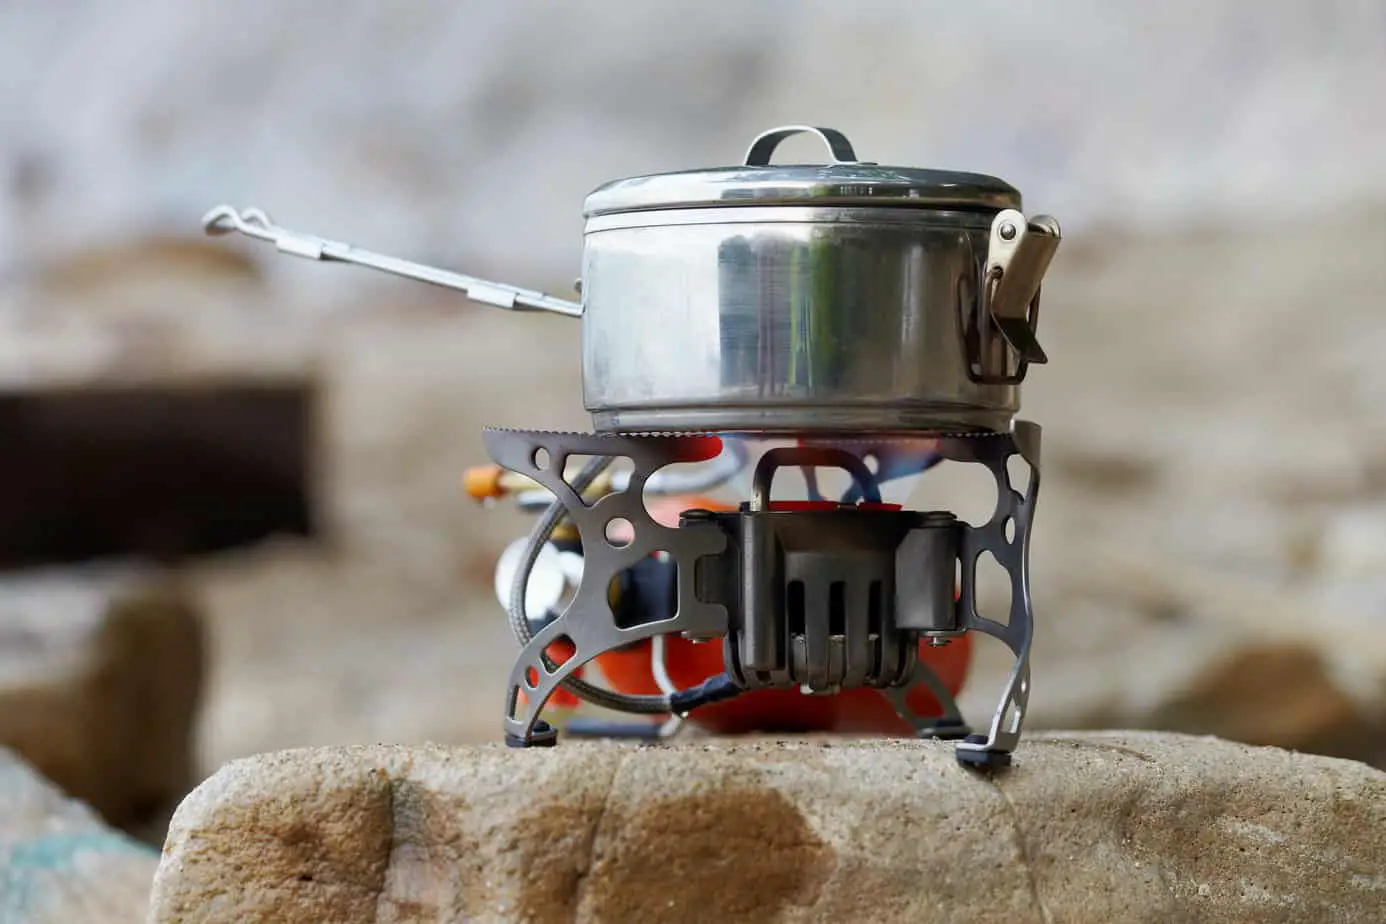
5. Boiling Water for Purification
The only nice thing about boiling water to make it potable is that you don’t need anything extra in order to do so. It takes a long time to get the water up to temperature and doesn’t clear out any of the gunk you may have scooped up from the source.
The only time it really makes sense to boil water instead of using one of the aforementioned methods is when you plan on cooking with the water anyway like if you’re making pasta or dehydrated or freeze dried meal. If you’ve got to boil the water anyway it’s not a big deal to boil it for an extra minute.
If you’re boiling water to drink though, you have to set up the stove, heat up the water and boil it, and then let it cool down before you can take a sip. We live in the 21st century! There’s no reason to go through that hassle.
Tips for Filtering Water While Wild Camping
Select the Cleanest Source Available
While you usually can drink water from a nasty pothole in a canyon or from a muddy puddle in a dry river bed, it’s not ideal. Whenever possible, allow water you’ve dug for to settle before filtering. Sediment can quickly plug up a water filter. Water treatment drops and UV treatment won’t do anything against sediment either, so you’d be stuck filtering the dirt through your teeth.
Select the deepest, cleanest source of water you can find, and clear out any sticks or moss that could get drawn in. Be careful not to scoop up the muck at the bottom of the pool as well. The cleaner you start out, the easier it’ll be on your equipment and the better the water will taste.
Pre-filter the Sediment
Pre-filter the Water before Filtering it
In addition to selecting water from the cleanest source available, you should also pre-filter the water whenever necessary. This can be done with a t-shirt or clean sock, which will filter out larger grains of sand or biological materials that would otherwise plug up a filter.
As mentioned previously, this is especially important if you use UV to sterilize the water, as sediment floating in the water will block the UV light and keep it from sanitizing.
Keep the Clean and Dirty Sides of the Container Separate
The most inconvenient thing about pumps is trying to keep all of the pieces together and keep the clean end from falling in the dirt or water, or accidentally mixing with the dirty side. They need to be stored in separate bags so that the dirty side doesn’t contaminate the clean side.
Bring a Backup Method
Batteries for a UV pen can die, filters for a pump, squeeze, or gravity filter get clogged up over time, and your stove can run out of fuel. It’s important to always carry a backup method when you’re in the backcountry in case your primary method fails. This is most conveniently done with iodine tablets, as they’re pretty much fail-safe.
Survival Methods for Filtering Water
In a survival situation there are several additional ways to get relatively clean water. Without boiling it however, you’ll mostly just have water that looks clean but can still carry harmful pathogens.
Solar Stills are used to capture water that is evaporating from the ground. Fasten the four corners of a plastic tarp up in the air over a wet plot of ground and place a stone or other light weight in the middle. Put a pot on the ground underneath the weight to capture the water that drips.
Sand Filters are more difficult to set up, but can work to sift out anything the size of a grain of sand or larger. These usually work with larger gravel on the bottom near the collection area with sand packed above. As water seeps through the sand larger impurities are blocked and relatively clean water drips through the gravel.
These methods aren’t good enough to actually make the water officially potable, but will work in an emergency survival situation. It’s a lot better than drinking straight from a stagnant pond. Better yet, bring a real filter with you and don’t take your chances!
Related Questions
Can You Boil Pond Water and Drink it? Boiling pond water for 60 seconds is one way to make it drinkable. Select water from the cleanest part of the pond ensuring that you get the least amount of sediment. Bring the pond water to a boil and allow it boil for at least 60 seconds before letting it cool down and drinking it.
How Can you Tell if Water is Safe to Drink in the Wild? The only way to tell if water is safe to drink in the wild is to have it tested. Even water that looks crystal clear can be contaminated with bacteria or other harmful pathogens. Clear water is likely safer than dirty water, but still should not be ingested without filtering.
Can you Drink Lake Water with a LifeStraw? LifeStraws are a great method for drinking lake water safely. Whether a pristine alpine lake or a muddy pond, a LifeStraw can make the water drinkable by filtering out contaminants through the integrated membrane.
How Do you Boil Water for Drinking in the Woods? Water needs to be boiled for at least 60 seconds in order to kill contaminants. This can be done by boiling water in a pot over a campfire or on a campstove. In extreme situations you can scoop up water on a big leaf and hold it over a fire to get it to boil.